How to Use a Rolled Hem Foot for Your Sewing Machine

Welcome to our tutorial on how to use a rolled hem foot for your sewing machine. A rolled hem foot is a fantastic accessory that allows you to create beautiful, professional-looking narrow hems on lightweight fabrics. Especially good for sewing hems on doll clothes! Let’s get started!
Step 1: Attach the Rolled Hem Foot
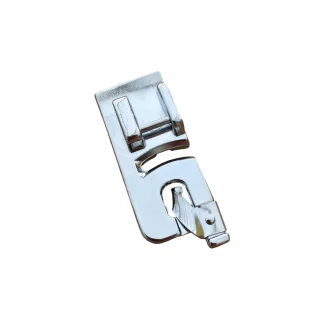
Begin by selecting a rolled hem foot suitable for your sewing machine. This foot has a curved groove on the underside that helps fold the fabric as you sew. Now, let’s attach it to the machine.
Locate the presser foot lever on your sewing machine and lift it to release the current foot. Align the rolled hem foot with the machine’s presser foot holder and lower the lever to secure it in place.
Step 2: Preparing the Fabric
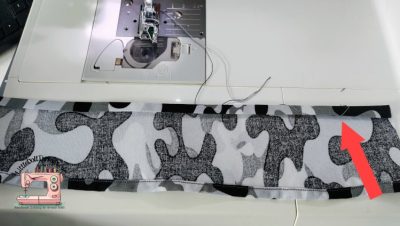
Before we start sewing, it’s important to prepare the fabric. Make sure to press and fold the edge of your fabric where you want the rolled hem. It’s recommended to fold the edge twice, about ⅛ inch (3 mm) each time, to create a narrow hem. Use an iron to press the folds in place.
Step 3: Adjusting the Stitch Length
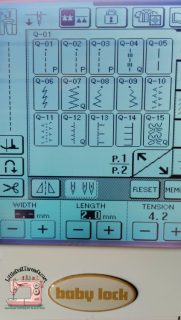
Now, let’s adjust the stitch length on the sewing machine. For a rolled hem, you’ll want to set a shorter stitch length. Refer to your sewing machine’s manual to determine the ideal stitch length for your fabric. In most cases, a stitch length between 1.5 and 2 is suitable for lightweight fabrics.
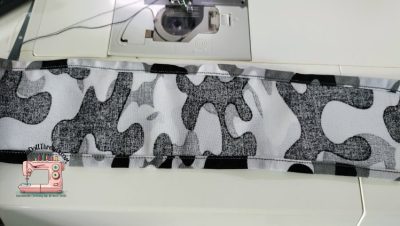
Step 4: Sewing the Rolled Hem
With the fabric prepared and the stitch length adjusted, it’s time to sew the rolled hem.
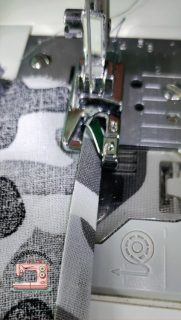
Position the fabric under the rolled hem foot, making sure the folded edge aligns with the curved groove of the foot. Begin sewing slowly, guiding the fabric along the edge. Let the foot do the work of folding the
fabric as you guide it through
Continue sewing along the entire edge, maintaining a steady pace. Remember to keep the fabric aligned with the groove of the foot, allowing it to fold neatly as you sew.
Step 5: Finishing the Rolled Hem
Once you’ve sewn the entire length of the fabric, it’s time to finish the rolled hem.To secure the hem, backstitch or tie off the thread at the end of your seam. Trim any loose threads, and give your finished rolled hem a final press with an iron to give it a crisp look.
Congratulations! You have successfully used a rolled hem foot to create a beautiful, narrow hem on your fabric. With a little practice, you’ll be able to create professional-looking hems on a variety of lightweight garments and projects.