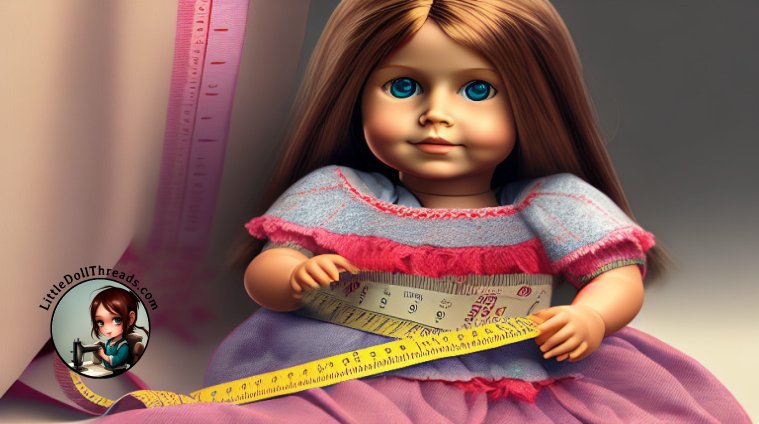
Instructions on Measuring a Doll

- Gather your materials: You will need a measuring tape and a doll that you want to make clothes for.
- Decide on the type of clothes you want to make: Depending on the type of clothes you want to make, you may need to take different measurements. For example, if you are making a dress, you will need to measure the doll’s chest, waist, and length. If you are making pants, you will need to measure the doll’s waist, hips, and inseam.
Measure the doll’s chest: Wrap the measuring tape around the widest part of the doll’s chest, just below the armpits. Make sure the tape is snug but not too tight.
Measure the doll’s waist: Wrap the measuring tape around the narrowest part of the doll’s waist. This is usually just above the belly button.
Measure the doll’s hips: Wrap the measuring tape around the widest part of the doll’s hips. This is usually around the bottom of the doll’s buttocks.
Measure the doll’s length: For a dress or a skirt, measure the length from the doll’s shoulder to the desired length of the garment. For pants, measure the length from the doll’s waist to the desired length of the pants.
Measure the doll’s inseam: This measurement is only necessary if you are making pants. Measure from the crotch to the desired length of the pants.
Record the measurements: Write down the measurements so you can refer to them later.
Adjust the measurements: Keep in mind that you may need to adjust the measurements slightly depending on the type of fabric you are using and how you want the garment to fit. Make sure to account for any seams, darts, or other shaping elements in your pattern.
By following these steps, you should be able to accurately measure your doll and create clothes that fit perfectly.

